Leftover Brisket Chili
I am spoiled. My son LOVES to BBQ, and he does it very well now. He has a large pellet grill, and thinks nothing of doing overnight cooks that last for 15 or more hours. The results are delicious, and plentiful. I often go for dinner, and come home with pounds of perfectly cooked leftovers – pulled pork, ribs, and my favorite: beef brisket. He’s a great chef and generous, so I totally win.
I was getting brisket often enough from him that I started thinking of new ways to enjoy it. One thing I have made a couple times now that I truly love, is beef brisket chili. It is easy, relatively quick, and it is absolutely amazing. I decided to do a recipe using about a dozen simple ingredients. It came out really well, so here we go.
Starting Point: Great Beef Brisket Leftovers
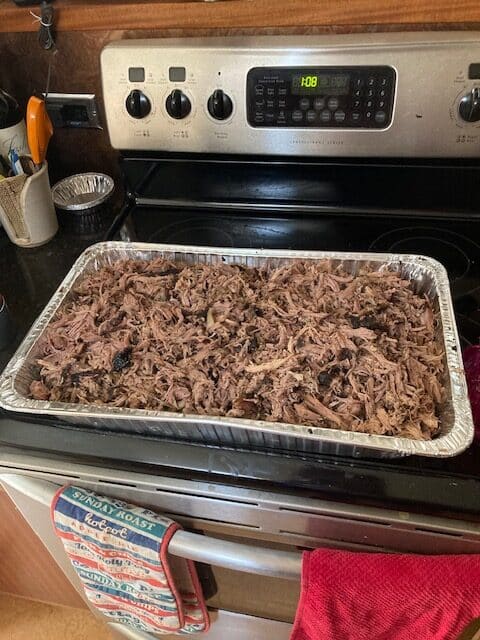
 It kind of goes without saying, but you need some really solidly cooked brisket to start. My son did this one for 16 hours, then wrapped it in butcher paper and rested it in a cooler for 3 hours. It was crazy good. He had a pretty spicy bark on it, so I knew it would be perfect for chili. We devoured a bunch of it, but he cooked a really large one so there was a ton of it leftover.
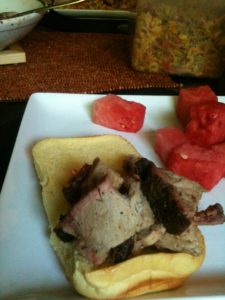
I had about 2 pounds of it so decided to do the chili. I would think you could do it with a pound, but much less than that, and you might not have enough meat to do it well. I don’t measure anything, so I really don’t know what the weight was – it was enough for me, about a meatloaf’s worth. If I have less than a pound, it gets devoured as a sandwich typically, or as breakfast hash.
I grabbed a few things at the store, and was prepped in minutes. You can be pretty liberal with the ingredients…nothing is too necessary, and you can ratio things the way you like it. Some folks like a soupier kind of chili, I like it a little thicker. But I vary the type of tomatoes, and I just spice it with whatever I have on hand. None of this is in stone, is the point – have fun, and make it your own however you want to. I find chili hard to  mess up, if you keep it simple. I found if you balance your meat, beans, tomatoes, and fresh veggies you will do wonderfully. Cumin and chili powder will make it taste like chili for you.
I love the way leftover brisket works here, because the bark is spicy and carries the flavors for me – I go very light on any added spice for brisket chili, because I really want to taste the brisket again. If I was making more of a standard chili, I would be adding heavier spice levels for sure…the brisket is meant to be the star, here.
The full ingredient list I used for this brisket chili:
- Leftover brisket – I think it was about 2 pounds here, but go with whatever you got.
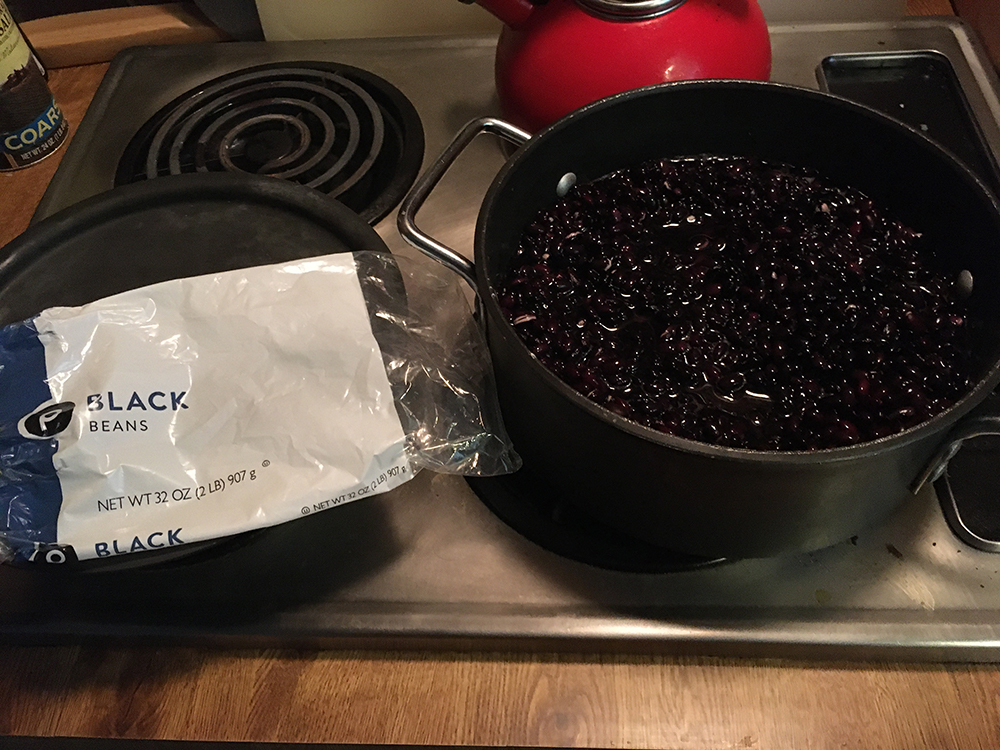
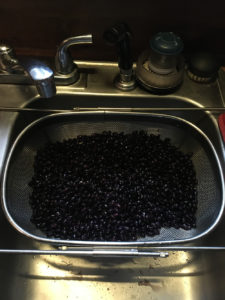
- Large can of red kidney beans – I try to kind of evenly ratio the beans to the meat, but go with whatever you like. You can substitute a couple small cans of chili beans, black, white or pintos will still work. It’s your call.
- Large can of crushed tomatoes – I used crushed ones w/basil, but plain ones are fine…as are chopped, or even whole ones (peeled). Crushed ones tend to cook the fastest, whole ones need time to break down, chunked are in the middle.
- I fresh tomato – I add this, just because I like the chunky fresh tomatoes in it, but it is a personal thing. This is not a necessary ingredient, I just like to add one, especially in a chunkier-styled chili.
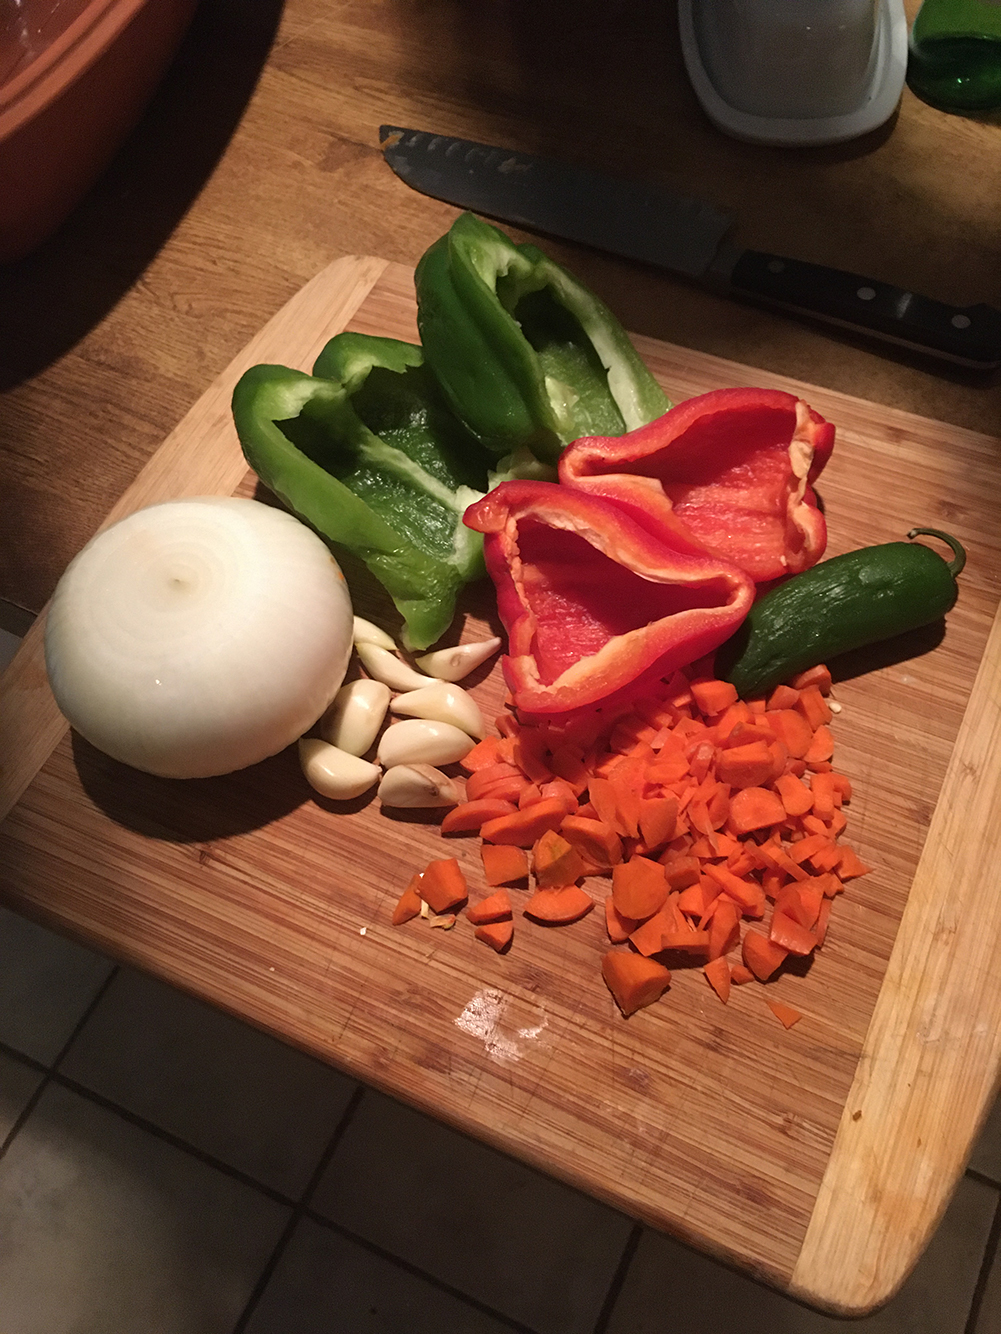
- 2 bell peppers – I typically use chili peppers or jalepenos too, but didn’t have them this time. Adding hotter peppers is a fine idea, and I typically do so. I wanted to taste the bells – scale this to your personal taste.
- 1 onion – I cut the onion a little smaller so it melts more into the chili as it cooks…again, personal preference dictates.
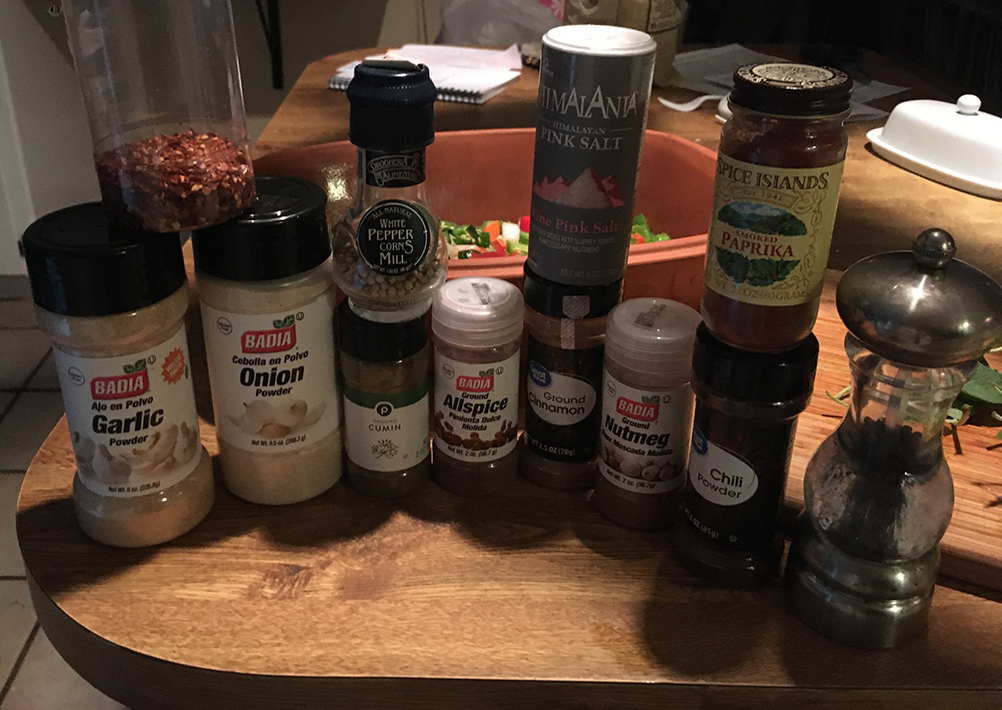
- Dry spices to taste: Garlic Powder, Onion Powder, Salt, Pepper, Chili Powder, Cayenne Pepper, Cumin
- Healthy squirts of sriracha (optional, for heat)
- Cornstarch or tomato paste to thicken (I used cornstarch and water here, but typically use paste)


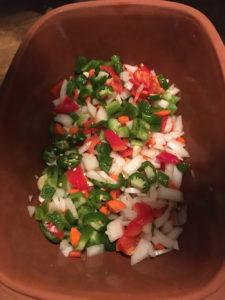
Step One: Sautee Onions and Peppers
I had a full white/sweet onion and 2 bell peppers here, a red and a green one. I was cooking everything in my Ninja Foodi, but you could do this on the stove, too. In the Foodi I don’t need any oil to do a little sauteing like this, but use a little butter or oil to keep things from sticking too much. All I was looking to do here was get these things softened a little.
I do a kind of rough chop, aiming all pieces of this chili to be about a half inch or so, or bigger. A little larger is fine for this kind of chili – the veggies will always reduce a bit, but keeping the chop at that size will leave them for the chew, which is my goal. If you cut them too small, they might cook down TOO much, and you’d lose the chew, which is sad. That being said, if you’d prefer to only have the flavor and use smaller bits of anything, chop away. If you dice something, it’ll melt into the chili pretty completely.


Step Two: Chop the Brisket
While I was sauteing the onions and peppers, I did a rough chop on the brisket to get it all prepped up. The end pieces were about an inch, because I knew that they would kind of retain some of that shape…but I knew how tender it was, so it was going to be great. There was some good fat in the slices, and I left all the bark on it, to serve as the chili spice.
Step Three: Open, Dump the Cans & Mix
The next step is easy-just open the cans of tomatoes and beans. I drained the beans, then dumped everything in the Foodi. I chopped the fresh tomato in one-inch pieces so it wouldn’t totally cook down.
I added the chopped meat, and stirred everything together as it started to cook.
I added the spices here too – but nothing major. I was really only trying to offset the tin can taste that you get from canned tomatoes because the meat had plenty going on. I did kind of liberally squirt in a bunch of sriracha, because it has a low/slow heat that works exceptionally well in chili…but not everyone likes heat. I do, and that is how I built it here. It worked like a charm, too! Chili spices are pretty forgiving, and it is hard to make something that doesn’t work. If you need measures, use 11/2 tablespoons of each (garlic/onion powder, cumin, chili powder) with Salt and pepper and cayenne only to taste (teaspoon or 2 of each). Be gentle with the salt as there’s a lot coming from the brisket.

Step Four: Cover and Cook
That’s all the heavy lifting: from here, I just covered it, and slow cooked it for a few hours.
It doesn’t take long to cook this since the meat is all precooked, but I wouldn’t do less than an hour to make sure everything blends together properly. I let it go longer because I had the time, and knew it would make it better to go low and slow. I think I did this one for about 3 hours or maybe a little more, using the Foodi as a slow cooker. If you are doing it on the stove, go low and slow, stirring it every so often to keep it from sticking. An hour is enough to get rid of the tin can taste that tomatoes can hold, but give yourself some time to let it all merge. It’ll keep getting better, believe me.

Step Five: Thicken It
So there’re two easy ways to thicken chili: either using a cornstarch slurry, or using tomato paste. Usually I will add tomato paste, as I like having another flavor layer in there. A single, little can would have been fine here. This batch had plenty of tomatoes going on, so I opted for the cornstarch slurry instead. It was my choice, but either works.
What I do with the cornstarch, is mix a big heaping tablespoon of it in a glass of water…about 6 ounces or so, like a little highball/cocktail glass full. Stir it until there are no lumps, then just stir the milky-looking water into the chili. Use it all.
I did this about 15 minutes before I ate – if it were the paste instead, I would let it work for the last hour. If I was only cooking it an hour or so, I would add the paste with everything else…a slurry, however, can go in right at the very end and it’s fine. It needs a few minutes.
That was my last step with this one though – it was thick, and smelled absolutely like heaven. I was ready to put it in a bowl, and devour it.
Top It, and Dig In!
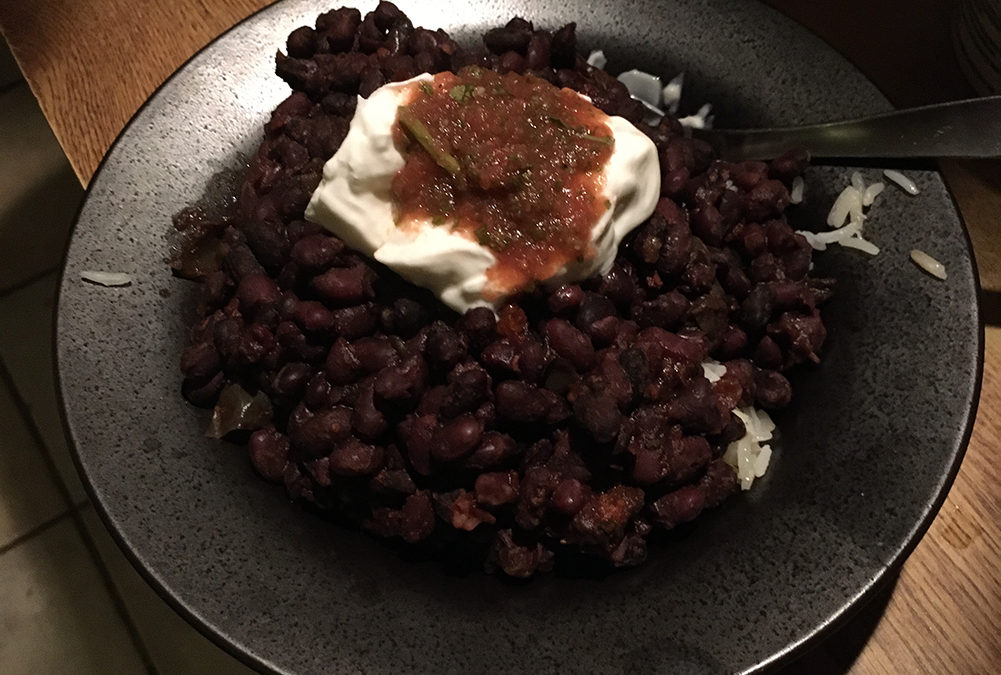
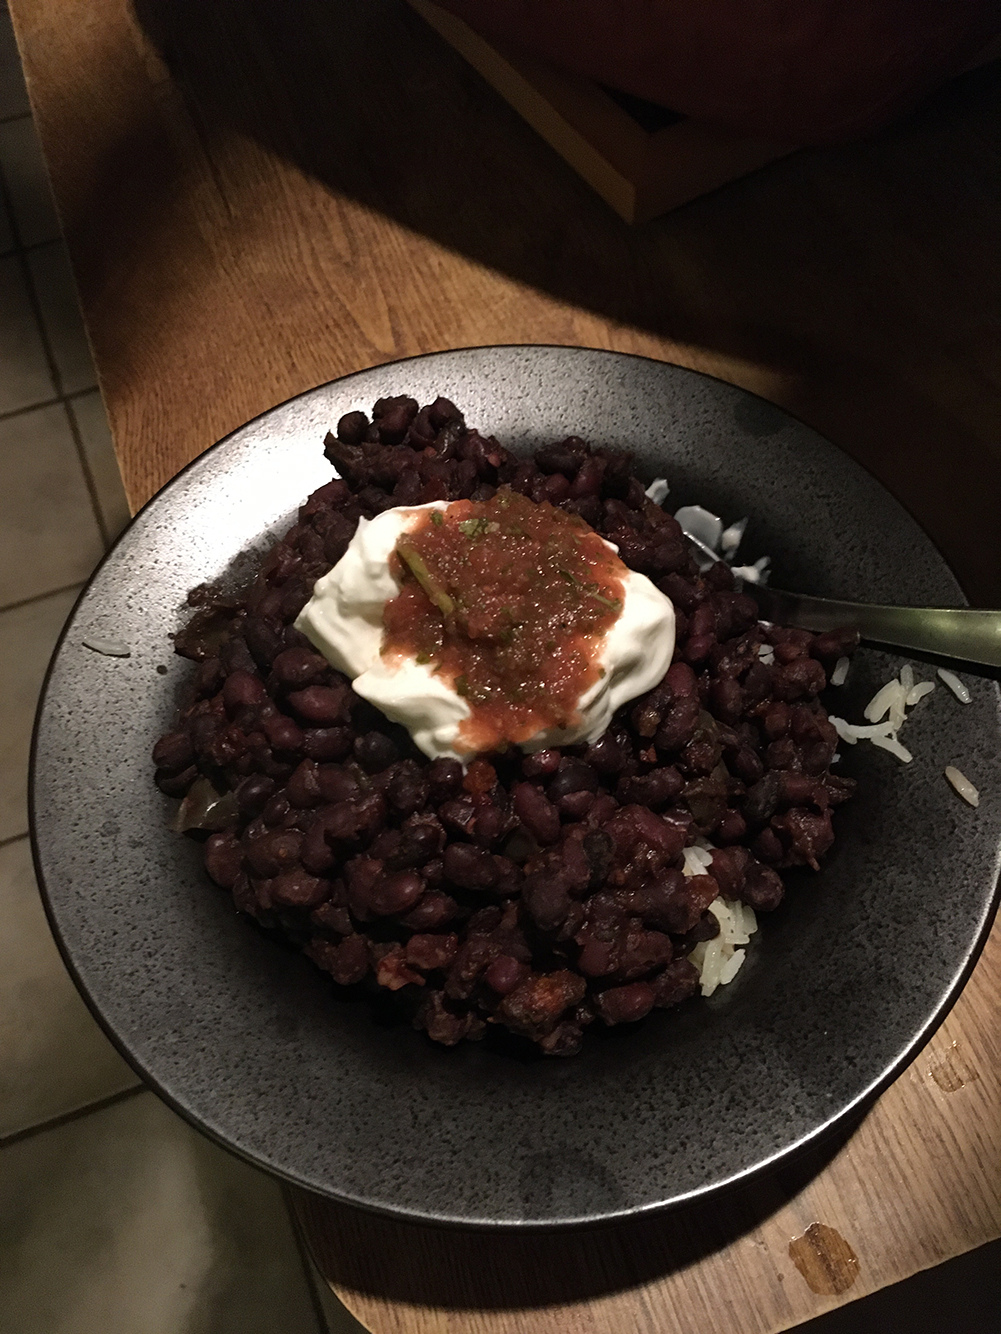
To top this, I used shredded sharp cheddar and some sour cream. It was a great choice, because the dairy offset the heat I developed in the chili. The sriracha did a GREAT job of building a subtle heat that rose as I ate it…it was like a slow-released, or measured effect in some way; it worked very well. The toppings cooled it all off, and the brisket flavor really came through as I wanted. There was a little fat in the chili, and the meat chunks were fall-apart perfect – I really appreciated both the texture and the flavor here.
I hope you are as lucky as I am, and have a child or someone who cooks for you, and creates something worth savoring. This brisket chili is a hit, every time I make it, which, thanks to my son’s generosity and talent on the grill, is becoming quite often. Mmmmmmm!!!


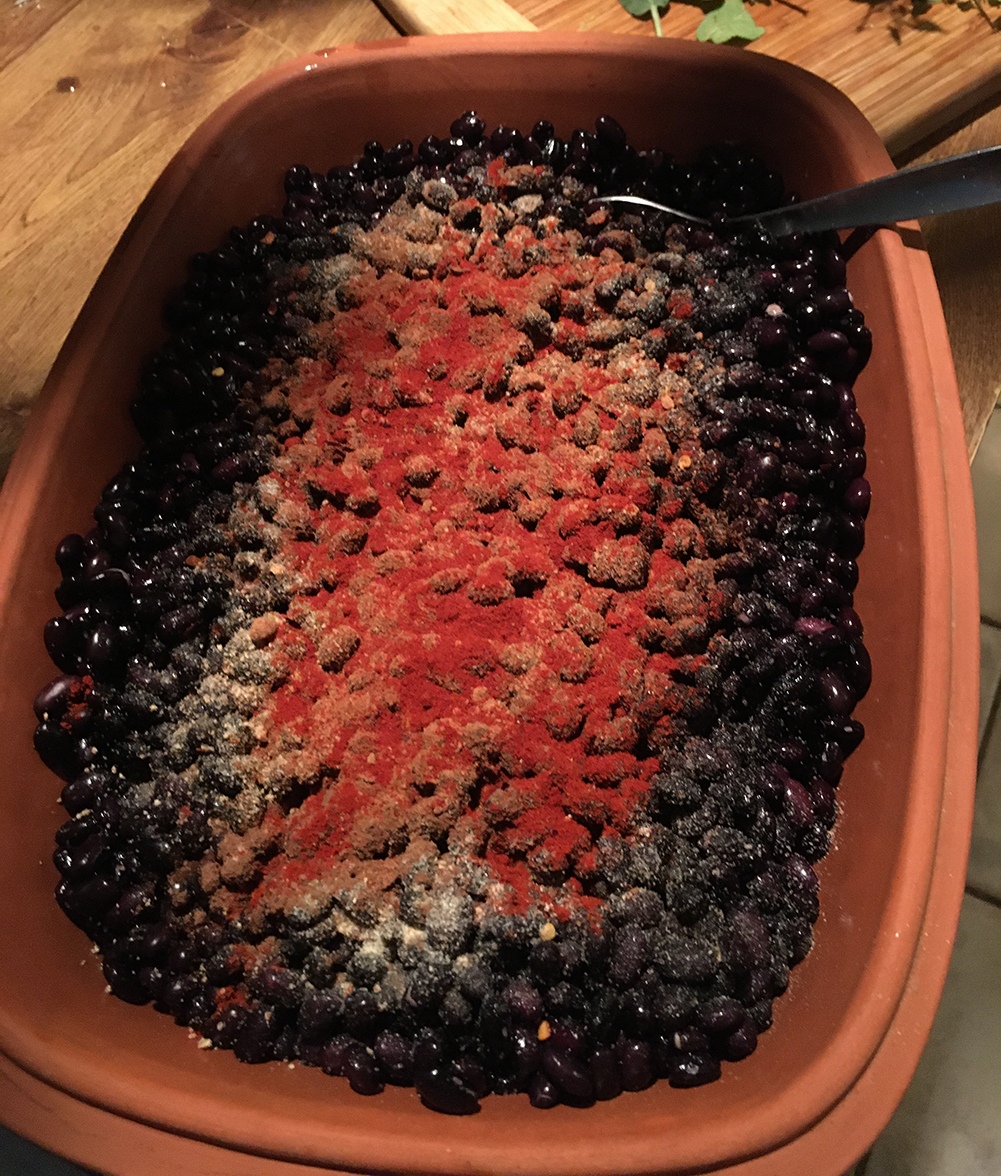
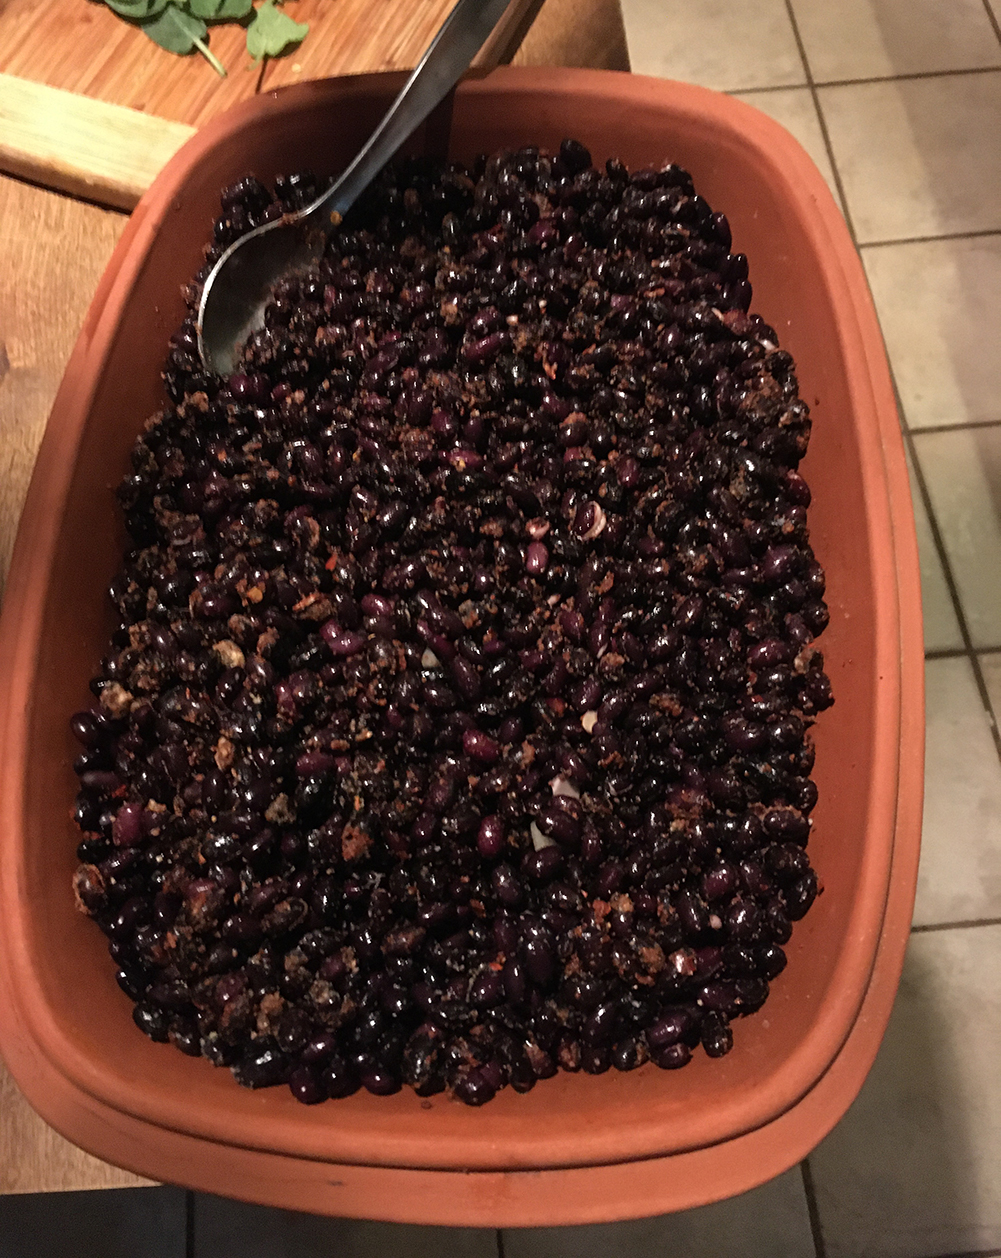

 When I put the chopped herbs on the beans I knew they would stay there – that the heat and steam in the cooker would activate them wonderfully, and behave differently than if I were to stir the fresh herbs into the beans. I wanted the fresh herbs to steam and dry out, but stay more or less intact – so a specific placement in the cooker, was key.
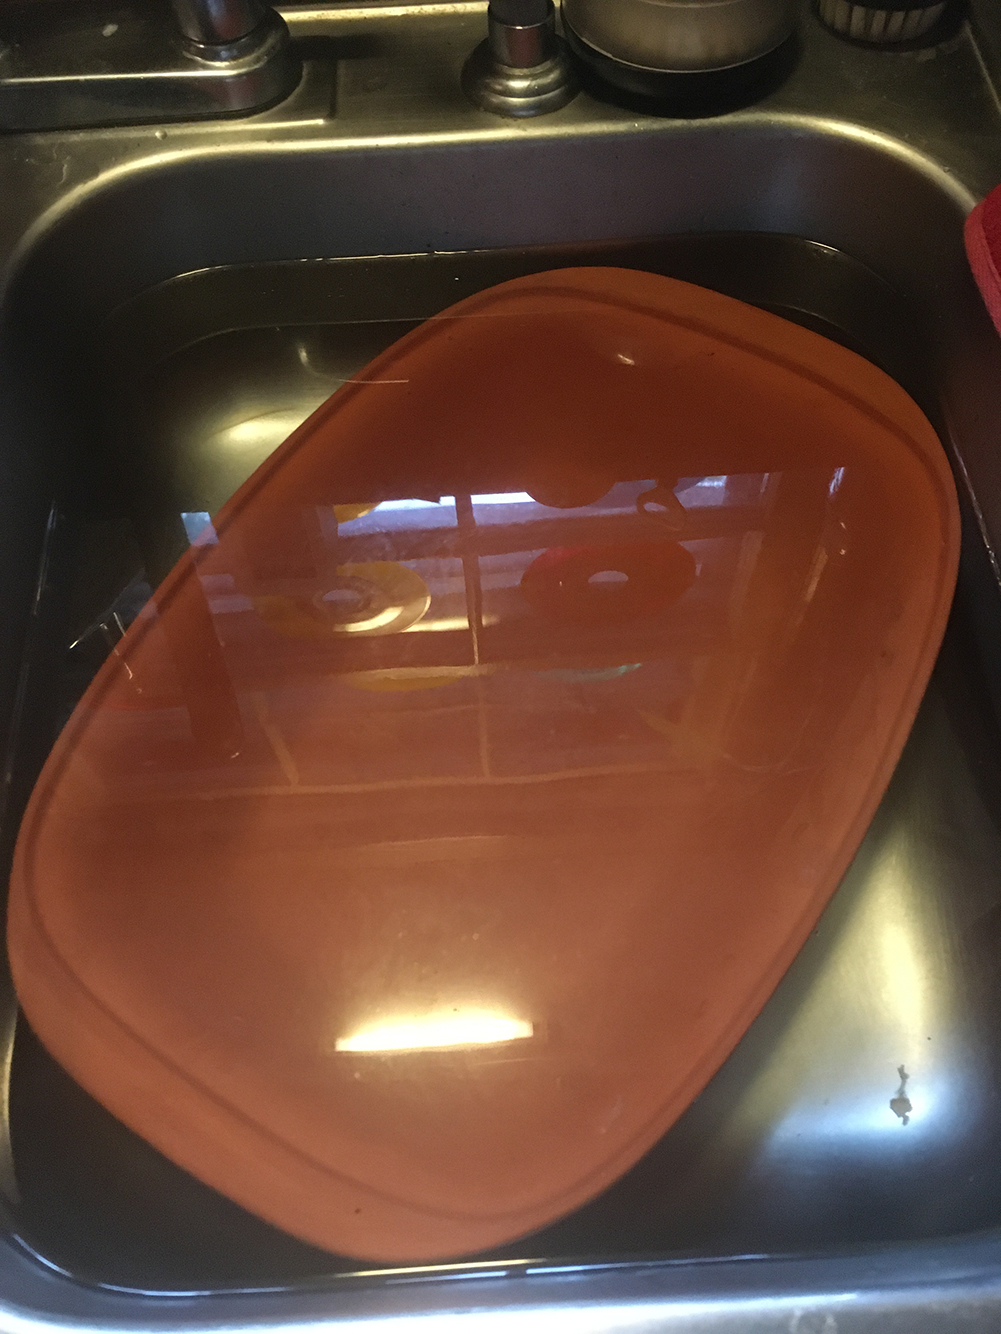
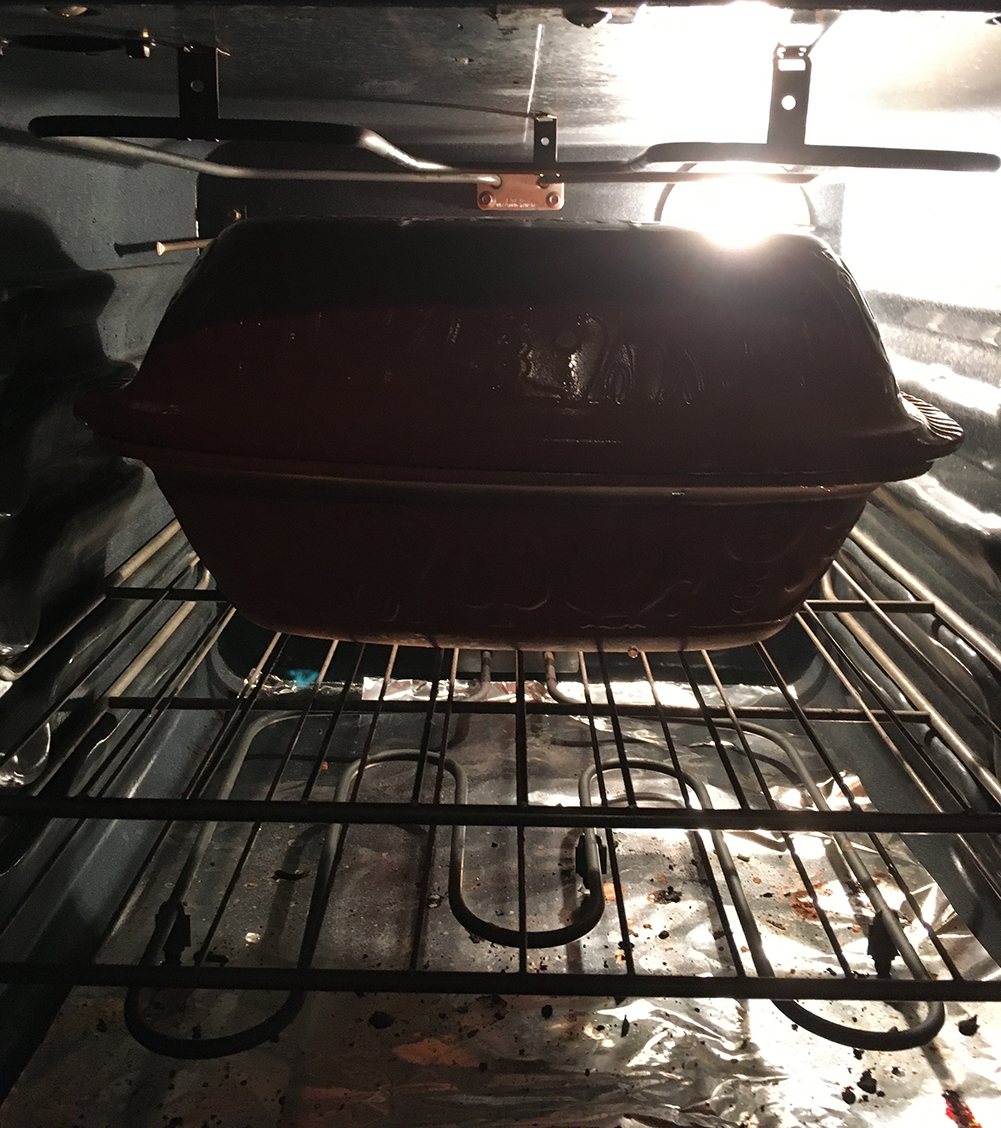


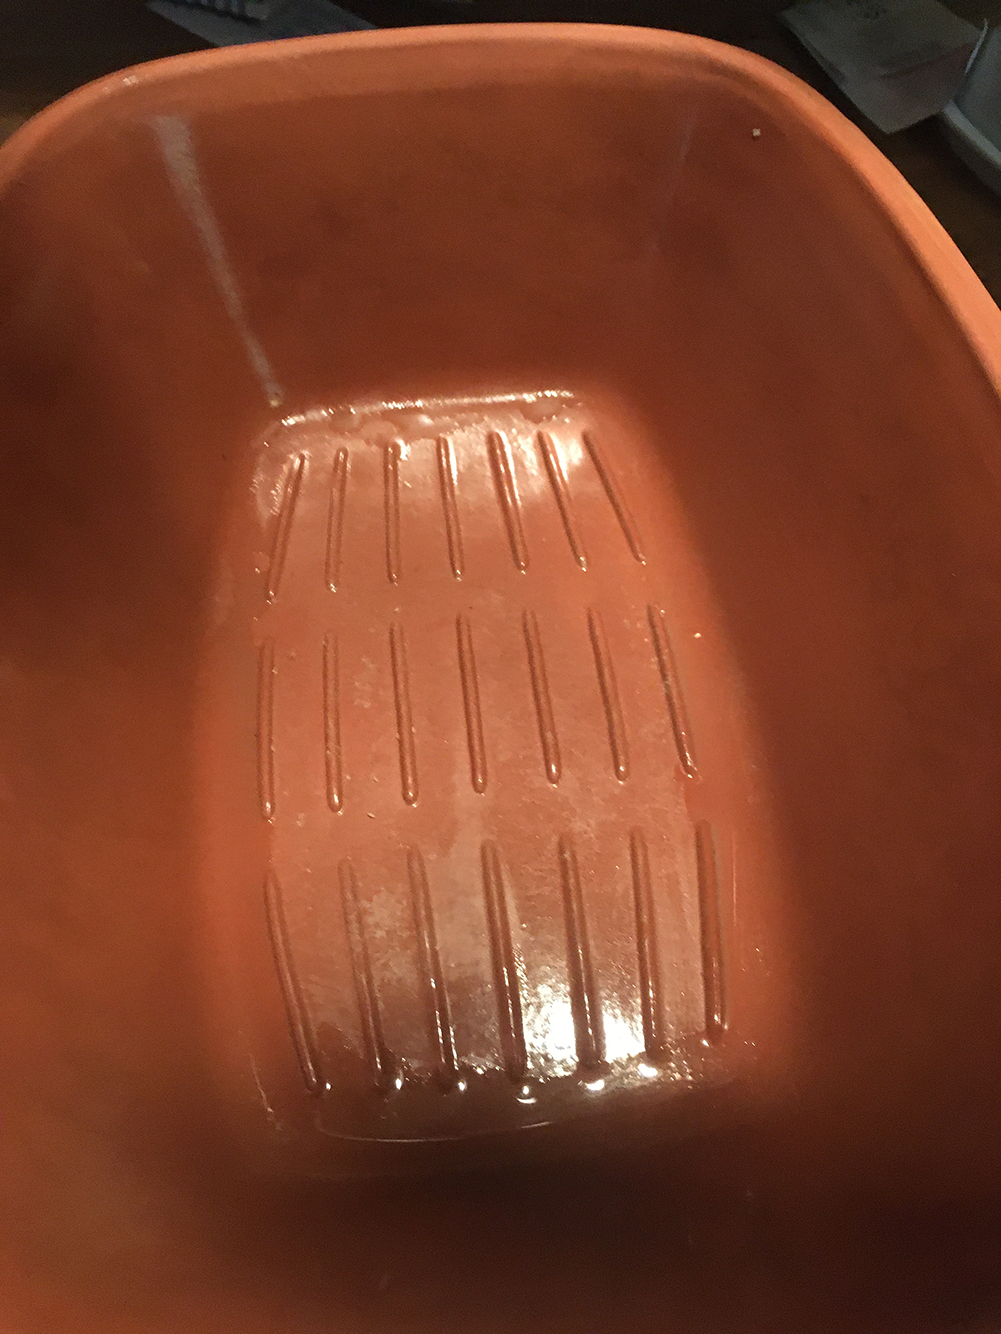
 This week, a nice lady named Pam commented on a post in here somewhere, where I talk about making brisket and we talked about using the Romertopf clay cooker. I said I was a huge fan of mine, and had it now for about 20 years I think – but Pam said, she never cooked meats in hers. I was amazed–I think that is the thing these cookers do best, so I was inspired to make something in it.
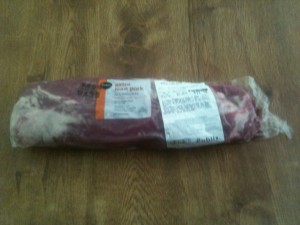


 However, I did not throw the old one out – I cleaned it out and fixed it, and figured out a great use for it.
 the air back up and thru that way. Once primed right, it would cruise. But I might need to do that once an hour or so – which was a big pain, and it made it hard to gauge the cooking time which became kind of inconsistent.
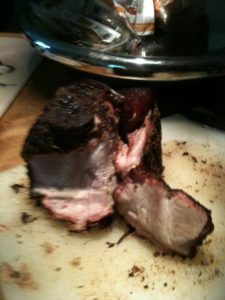
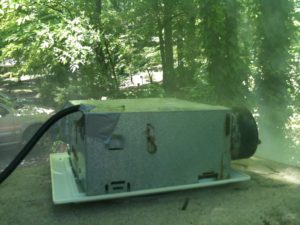
 By the end of it all, the fart fan was a champ and a half – made it super easy to use the Beast more efficiently. I am the fart fan’s biggest fan.
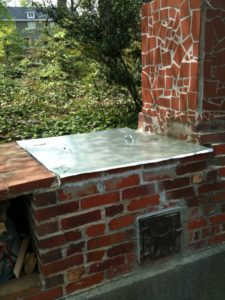
 Long story short, I made a new top and even put handles in it – then I smashed down the edges of the new top with a brick, so it fits this thing exclusively. I reattached the fire door, which is handy when it is operating. I also concreted bricks inside, both to hold the grill and to prop the new metal wall I added.
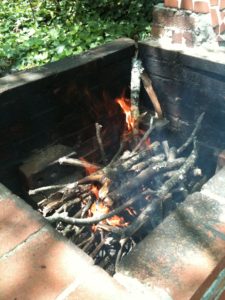
 But I used a big metal bar I had, and got the majority of it where I needed it to be…then forced the wall in there to hold it all. That worked really well actually – but actually moving the fire and coals, not so much.
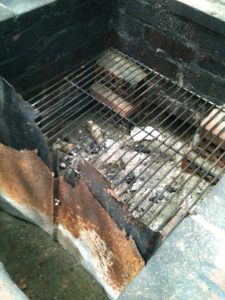
 So for her inaugural rebirth run, I wanted to make ribs, one of my favorite BBQ specialties. I had some old ribs in the freezer, so thawed them out – had 6 racks of baby backs. Made a dry rub and while I built the fire, I had them sitting in it.
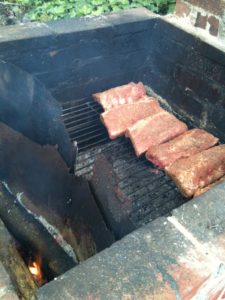 I wanted to see what the Beast could do on her own merits, especially indirectly, so I simply put the ribs on the grill, away from the fire/coals.
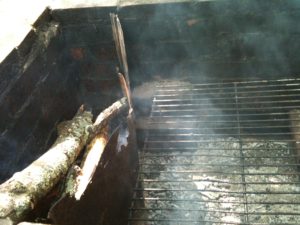
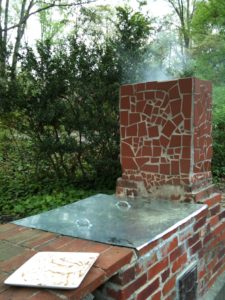 Now the way she always worked in the past, once you got a good flow going thru the chimney, it always held. But the wall inside, and maybe the bricks I concreted in there to hold the grill, were changing the flow, and it was not so consistent.
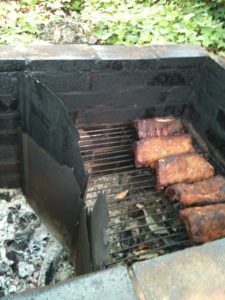
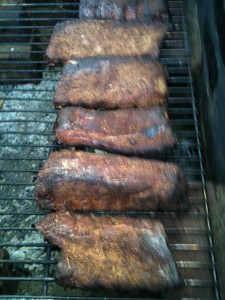 After about 3 hours, they were done – and the heat was NEVER direct on them. I could’ve had this a lot hotter, actually – so maybe next time, I blend in some wood-based charcoal or something.
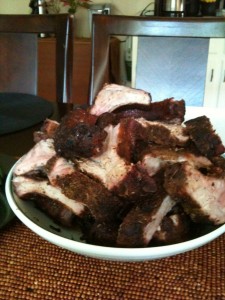 I cut them all individually (they don’t shrink so much if you cook them like this), and noted a decent smoke ring.
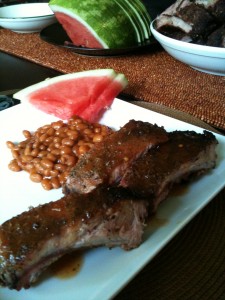 don’t always sauce my ribs – sometimes I do, but sometimes I do like to make and serve them dry.