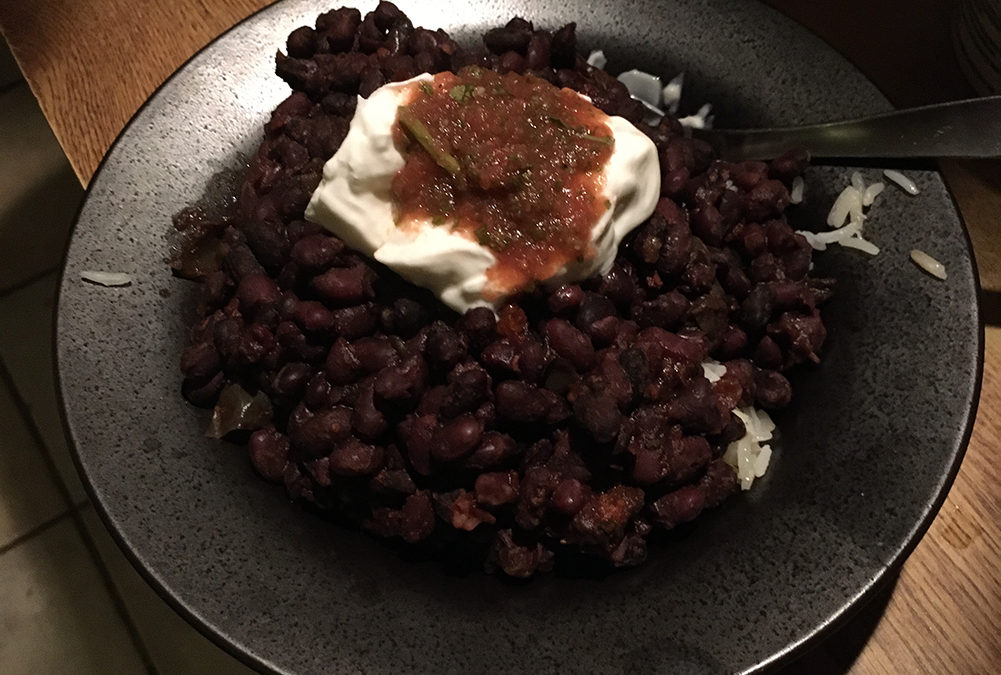
I wanted to make black beans from scratch – and not from cans, either. Canned black beans are soft and gooey off the shelf – I wanted to have firmer beans that got their glorious goo from things I did on purpose – something much more detailed and elaborate than simply opening a can.
I decided to make them vegan this time too, as I figured it would come in handy to know how to do that. I know a LOT of nice Vegans that I might share a good dinner with, occasionally – I needed another ace up my sleeve for them. So here you go, Vegans – go grab your clay cooker.
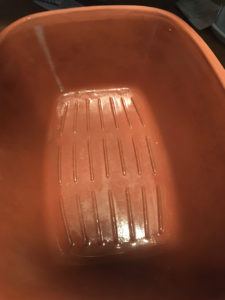 I was also using this outing to experiment with more things in my new clay cooker. I had a great little Romertopf forever, but then brought it to a dinner party a couple years ago and never got it back. Lucky for me, I found one at a junk store last month for $20, brand-spanking-new – it is a little larger than my last one, and has a glazed interior, which were both cool perks.
These vegan beans were one of the first couple things I cooked in it, after some delicious chicken and pork dinners were nailed righteously.
Note that this recipe is meant to spread-out over a couple days – it takes a long time to make dry beans into eatable beans. More time still, to make them delicious! It is totally worth it though, and it is not a lot of time prepping as much as simply a long time to cook. I tend to find this pretty therapeutic, but I am admittedly and unashamedly a weirdo.
Soak Your Beans – 12 Hours at Least – and Your Cooker
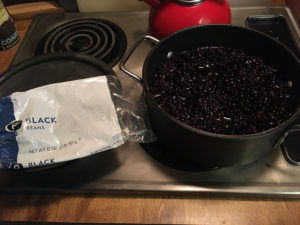 So in typical black bean fashion, I started with a bag of generic dry black beans – 32 oz. I submerged them in a lidded pan full of warm water, about 4 quarts worth, and let them sit, covered, for a total of about 24 hours.
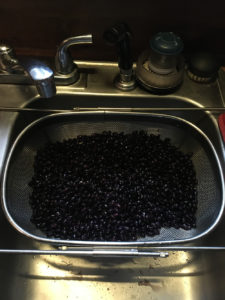
Note that they will increase in size (about double) once they soak up that water – -so ensure you have enough fluid there to soak-up…I have often used too little, and the beans simply soak it up too quickly and won’t fully soften. Err on the side of having too much than otherwise – you can’t really have too much water, but you can certainly have too little.
I have also tried pre-soaking in broth for adding flavor a couple times, but didn’t notice enough impact to do it again – water works just fine.
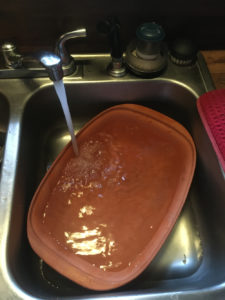 After they have properly soaked (minimum time would be overnight), I rinse them well, and set them aside for a while to prep the veggies. Rinsing only helps get the gunk off them – look for stones too, which I actually see in there pretty often. The beans will be pretty uniformly the same when they are soaked well.
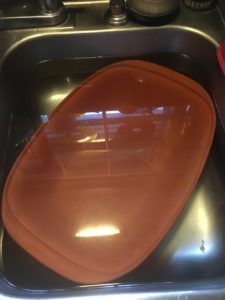
When you are ready to actually make the beans, as with any time you use the cooker, you want to soak the lid (at least – you can soak both sides of the cooker if you’d like)…this will create steam, and helps preserve the moisture of anything you cook.
I try to let it soak for about an hour while I am prepping other stuff, but not sure what the manufacturer would suggest. An hour has done fine for me for years.
Chop Your Veggies
 When I make black beans, I make them the way I learned in the Jamaican restaurant I worked in during the late 80s/early 90s – because they did them so wonderfully. It is a kind of “kitchen sink” approach to it – you throw in anything you got, and know you are generally only going to make them better if you have more stuff in there and cook them down long enough.
An important break from my norm here, was doing this totally vegan. I typically would put some pork bits in there, like salt pork or bacon or fatback, to cook down a little fat and make the beans more succulent – but that would not make the Vegans smile, so not this time. Understand though, you can definitely add some pork bits in right here, and that would not hurt the beans at all if you aren’t preoccupied pleasing Vegans. It might add to the time you cook everything, but it is well worth it.
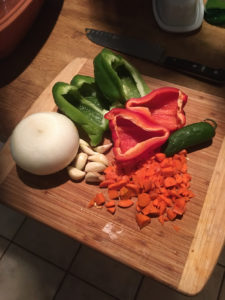
For these beans, I went with what I had on-hand – a couple bell peppers, a kind of sad and wrinkled jalapeño (with all seeds intact for some heat), onion, garlic, and carrots. Carrots were kind of a weird thing, but I figured if cut small enough they would simply add a little body and flavor to the base of it all. It is a trick I learned with marinara sauce – if you add carrots to a tomato sauce, it can be lovely. Same theory here.
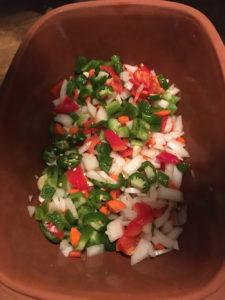
Cutting these veggies really small was also something I did on purpose, because of the way the clay cooker works. I knew that if I cut them really small and put them under the beans, they would essentially melt down for me, and help create a luscious layer of flavor. They would be bathing in broth, and all would be right with the world.
I knew that I would never see these veggies again, and I was OK with that. If I wanted them to remain in the mix, I could have used a larger cut so it didn’t melt down in the heat and juice…it depends what you want your finished beans to be like.
So understand that while I used the vegetables that I used this time, you can use whatever you got hanging around. Onions, peppers and garlic would seem pretty necessary to me, and from there, you can wing it. Empty the fridge…I can’t think of anything that would hurt you here, while some choices (like corn, or artichokes) might just be a little weird. In the Jamaican place, we threw a ton of stuff in there while they cooked so go nuts if you like.
One cool thing about using the clay cooker for these, is knowing my veggies will cook off nicely under all the beans – I have tested this theory before, in layering the clay cooker different ways. If I were using a kettle on the stovetop, the vegetables would not render down the same way, and would tend to hold more of their original shape/texture unless I rendered them down…it takes much longer and a different cooking manner for the same effect to occur.
Once I put the small-chopped veggies in the cooker, I put the rinsed (and now air-dry) beans on top of them. And then the fun part could finally begin – the seasoning!
Spice It Up!!!
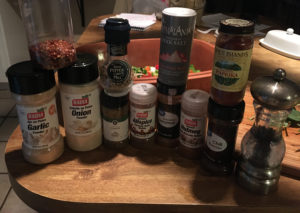 In much the same manner as emptying your fridge to build an interesting undertone, the spices you use for your beans are going to become the true stars of the show.
Beans by themselves, even with the help of some nice aromatic vegetables, are bland as can be. Dry spices and fresh herbs bring the right dimensions to your efforts. You will be rewarded handsomely for taking your time on this step of the process.
I don’t hesitate to go right in there, and get it all going when I am doing beans – there is not much that is off-limits. The staples, would be healthy doses of garlic and onion powder for added strength (we have them chopped, too, remember), cumin, allspice, crushed red pepper, chili powder, rosemary, basil and oregano. I personally like adding a combo of cinnamon, nutmeg and ginger root too, as they blend in this wonderfully Mediterranean kind of way.
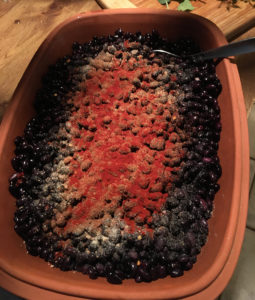 I don’t stop there though, and will grab thyme, coriander, marjoram, bay leaves…anything and everything might get thrown in for good measure.
Salt and pepper too (white pepper is excellent in these), but I tend to go light with additional salt (blood pressure reasons)…people can always add that later, if they like, but it should be far from necessary to get salty in here if you properly go to town with this spice-it-up step. A lot of dry spices and fresh herbs will pop right through the beans, and layer them with all the flavors and complexities you are looking for.
What I did here, was to add all the spices to the beans, then I very carefully stirred them so as to not disturb the veggie layer underneath. In retrospect, I should have probably mixed the dry spices in a bowl, added the beans to properly coat them, then put the fully-seasoned beans on top of the veggies. oops – not this time.
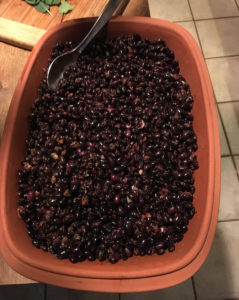 It did not matter – in much the same way, it does not matter what you do for your spices as long as you understand to be happy and liberal with them. If you have a lot of fresh stuff on hand, even better – I didn’t, so went with the stuff I did have and knew they’d be wonderful.
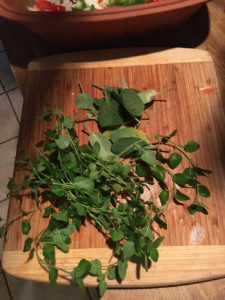 Once I had the dry spices mixed in the beans, I went to the herb garden and pulled some oregano and sage – they were again, the ones that were there, so they were nominated. Rosemary, fresh, is perfect for beans – basil works well too, as will cilantro, tarragon and most things your herb garden might have.
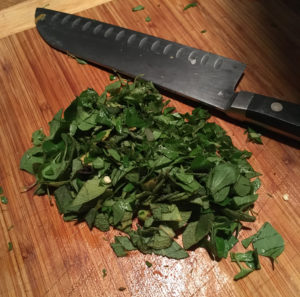 For these, I dry-spiced and mixed the beans, then I added 2 boxes of vegetable broth. I chopped my fresh herbs and put them on top of the finished beans – they were intentionally last, much the same way the veggie layer was first. Why? To take full advantage of the way the clay cooker works.
The 2 boxes of veggie broth did not come up over the top of the beans (more about this later) but came up about a half-inch or maybe a bit more than that from the top.
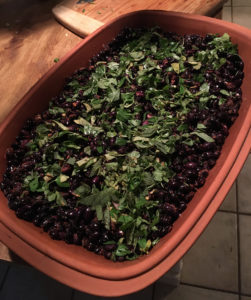 When I put the chopped herbs on the beans I knew they would stay there – that the heat and steam in the cooker would activate them wonderfully, and behave differently than if I were to stir the fresh herbs into the beans. I wanted the fresh herbs to steam and dry out, but stay more or less intact – so a specific placement in the cooker, was key.
Once there was a healthy bit of dry spice on the beans and the broth was under there, as well as a nice layer of veggies on the bottom and aromatic fresh herbs on top, and the cooker top was soaking the whole time I was prepping this stuff, this was ready to go in the oven.
Crucial Cooking Times
 I tend to find in clay cooking, there are two general ways to go – either low and slow, or hot and quick. Both methods have their benefits and limitations, depending on what you are cooking. Beans like this, without any meat or grease in them, should probably be somewhere in the middle of that.
I put mine in the oven at 325 – and let it cook for four hours. I was thinking a low, slower heat would be the thing here, but I can admit freely, I was a little off in my calculation.
My first mistake, was not adding enough broth or liquid to them. I put in 2 boxes of broth, but I had a LOT of beans here, so I needed more. I could’ve easily added water – or beer, or more veggie broth. You want to bring the liquid level up to the beans – I don’t think you need to submerge them completely, but you do want them to be moist all the way up.
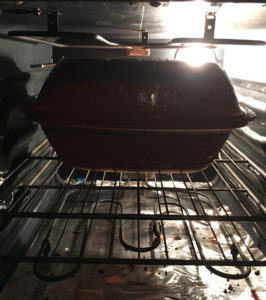 What happened with mine, was in the time they cooked, the broth got sucked up into the beans – so there was not originally a lot of that “glorious goo” I mentioned at the beginning of this. Ooops. The flavor was still amazing, and the beans had a great consistency to them – but I wanted them still a little softer, which I could’ve had with more liquid, and maybe playing with the heat some and making it hotter in there.
One thing to do with the clay cooker sometimes, is start it out hot and then lower the temp. You might go after 450 to get things started, and after an hour or two, drop that down 50 or 100 degrees. What that does, is it creates the steam/boiling heat you want, then you mellow it out for a longer period of time…but the clay holds a ton of residual heat that cooks stuff really evenly.
It is very hard to make a mistake that you don’t want to eat anyway, when you are using the clay cooker. I didn’t think of these as a mistake by any means, but just thought I could have done one step better. I like the learning curve here – not hard to take.
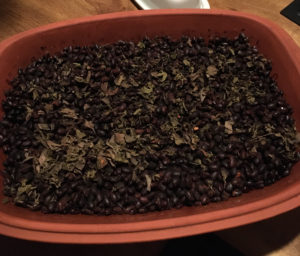 When I took the beans out, the herbs on top were dried and fragrant – so I stirred them into the mix. I pulled up the veggies too, or whatever was left of them really…they behaved perfectly and were simply part of the beans now.
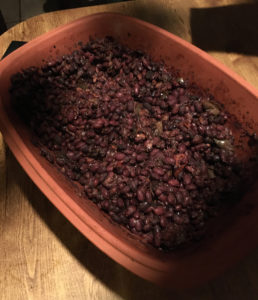 Unlike a can of beans, these had all retained their body – they smelled incredible too, with all those spices and herbs just dancing around the kitchen.
I ate a bowl of them immediately (over white, Basmati rice), and then I added some warm water and a room temperature beer, and threw them back in the oven for another two hours at 450 this time, to get them boiling.
When I pulled them out after the extra time, they were PERFECT – they had the right tenderness to them, and there was a delicious kind of sauce that was simply residual stuff from the long cooking time and extra fluid.
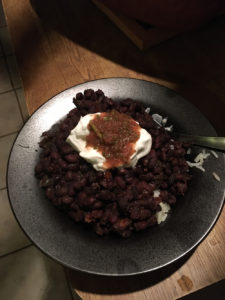 I broke my rules too, and had to top this off with sour cream and salsa – sour cream may not be vegan, but it is a great add to black beans. I might even go as far as mandatory, but like I said before, I am pretty weird. Vegans might substitute something else here, but I wanted the dairy and I did lay off the salt pork, so felt vindicated. I was alone anyway, so no harm, no foul.
And That’s That
So that was it here – I made a ton of these things, as you can see. I ate them every day for 4 days in a row, then I froze a big bag of them to have later.
Next time, I am gonna go back to adding some salt pork to it – I just prefer them to have some meatiness in there. But these were in no way lacking – they had flavor for miles, and a texture that is hard to get outside of a restaurant that does these for days at each cook, like we did at the Jamaican place. The beans there would cook for 2 full days before they were served – I cut it down to a few hours here. Know that if you add more time to them, they break down more (like refried beans) and get ever more soft and delicious.
As always, if you have questions fire away – and if you have any tips or tricks to share, please do so!
Bon appetit to you all!

